While I was still messing about finishing the installation my mate Simon started to cut some holes in the roof, two holes to be exact..
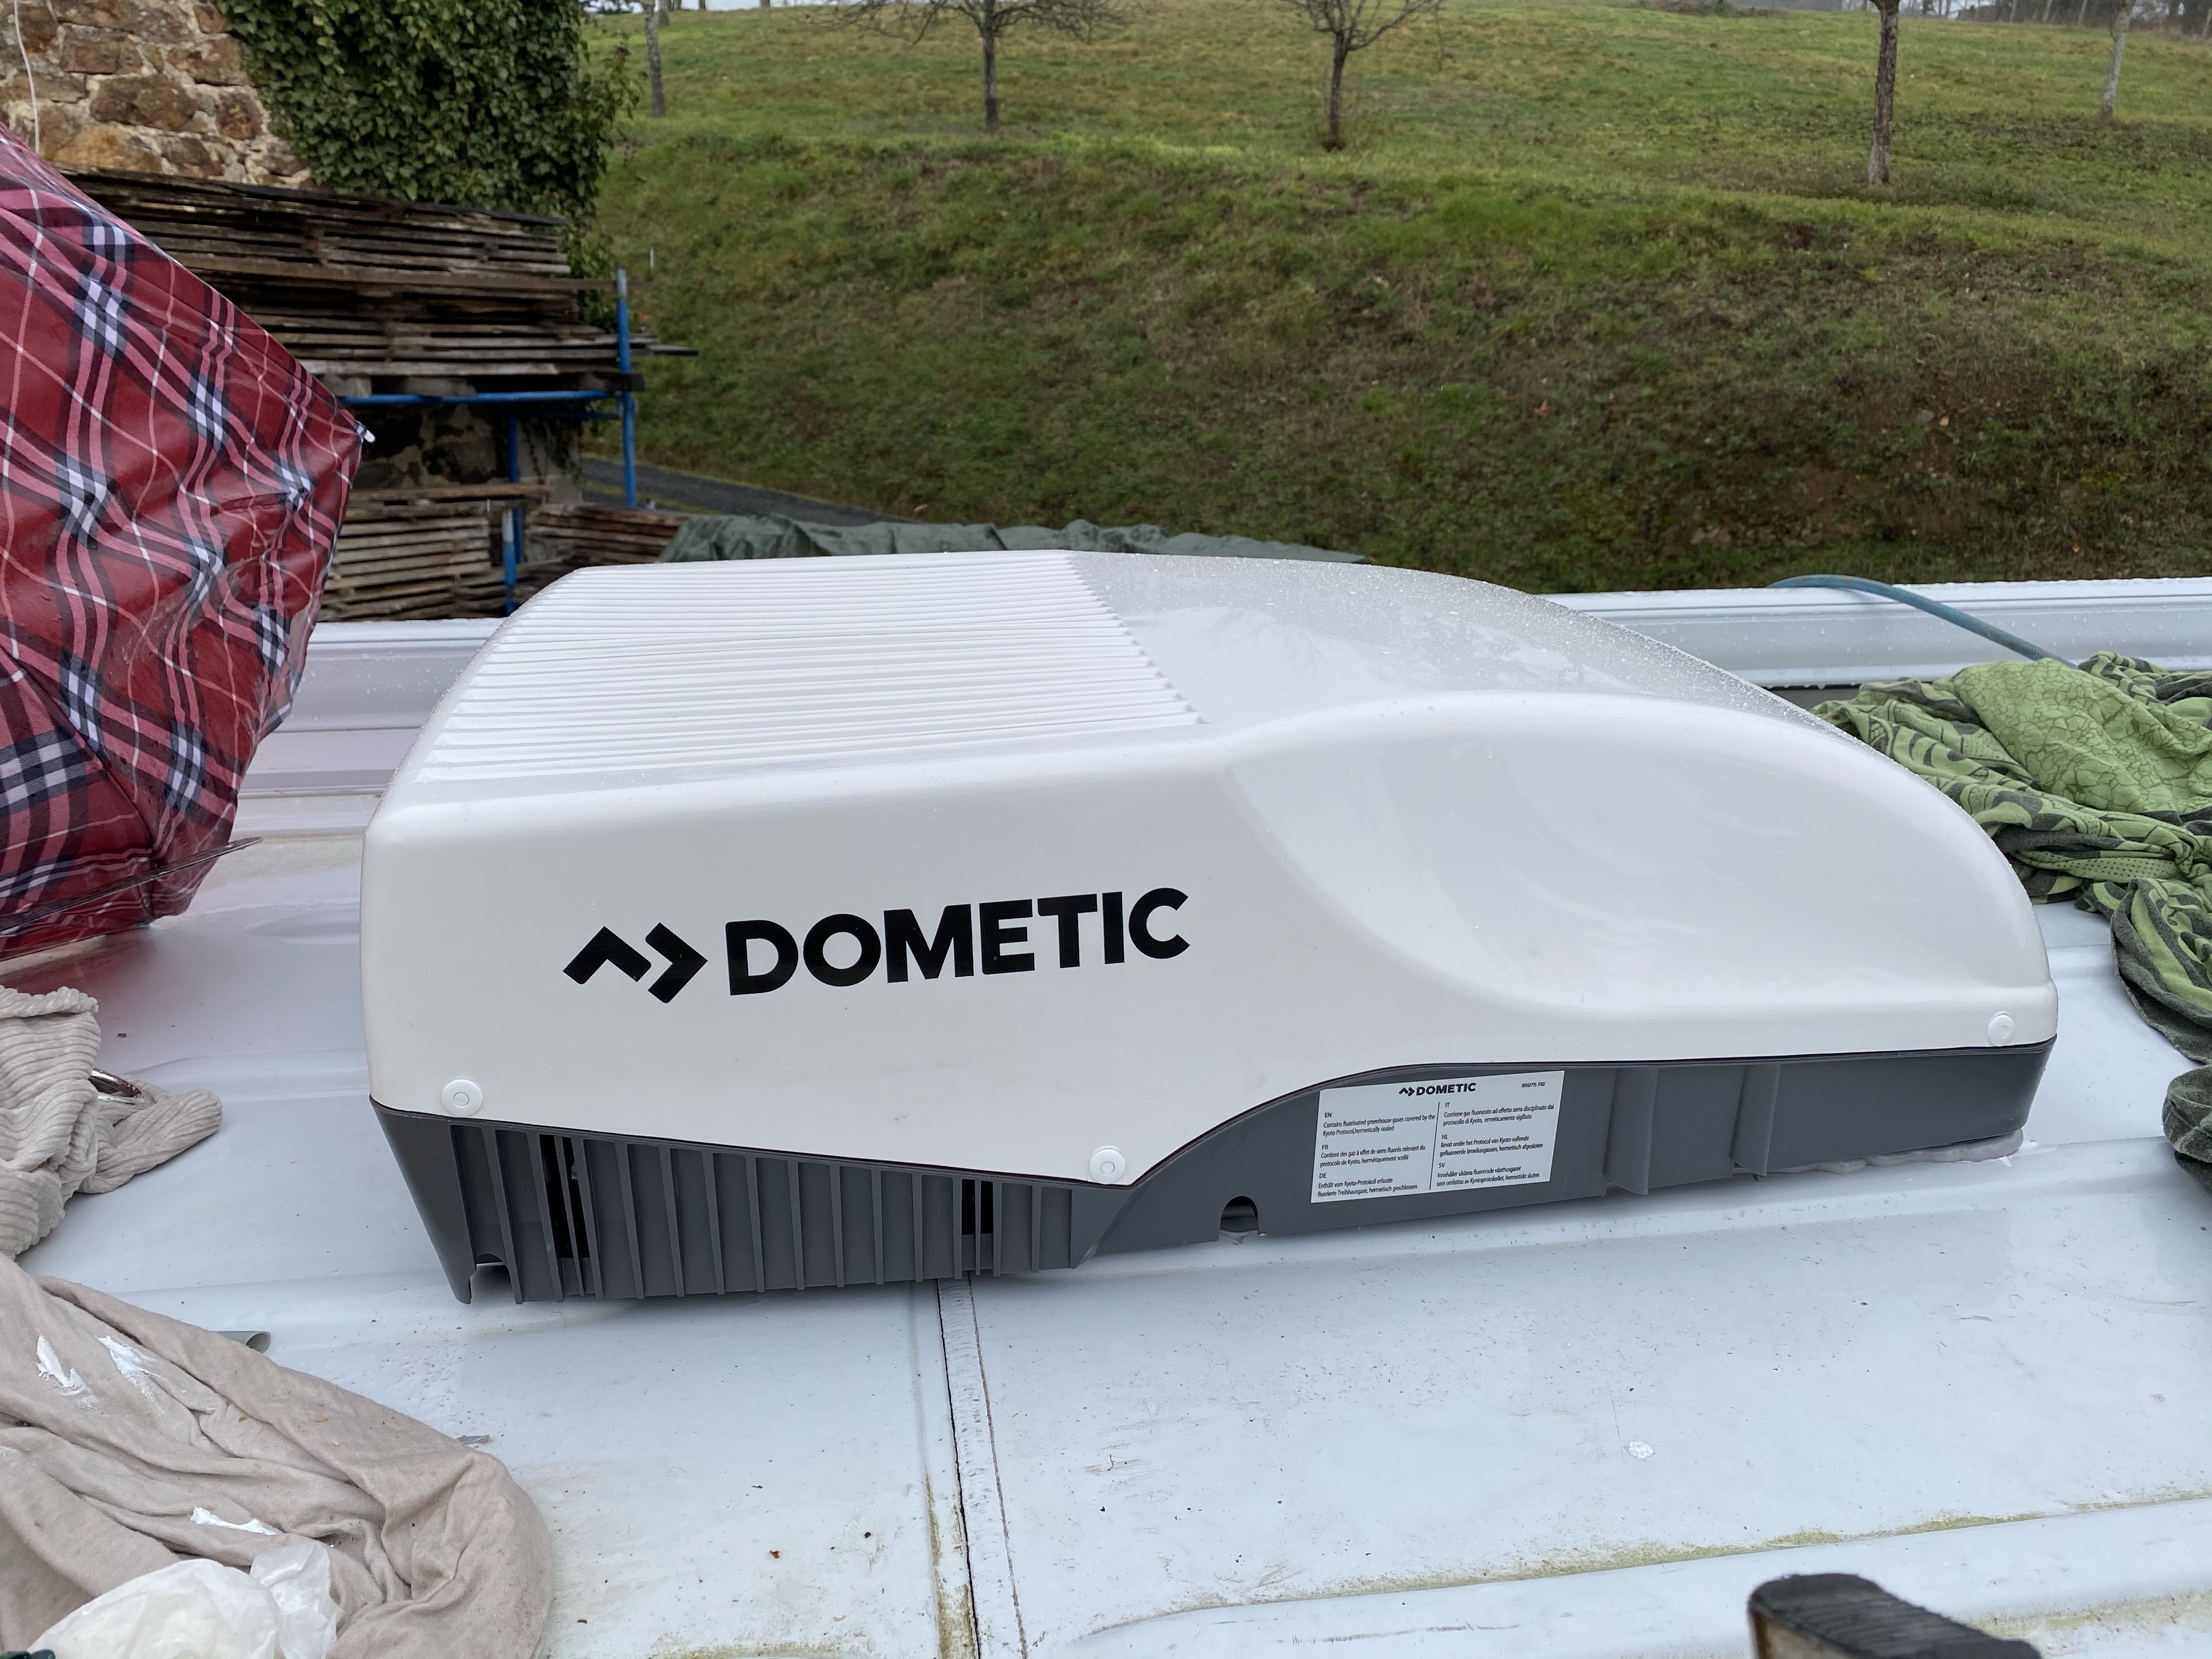
One is for an aircon unit, the Dometic Freshjet 2200 and the other for a 12v Maxxair fan
Why two I hear you ask?
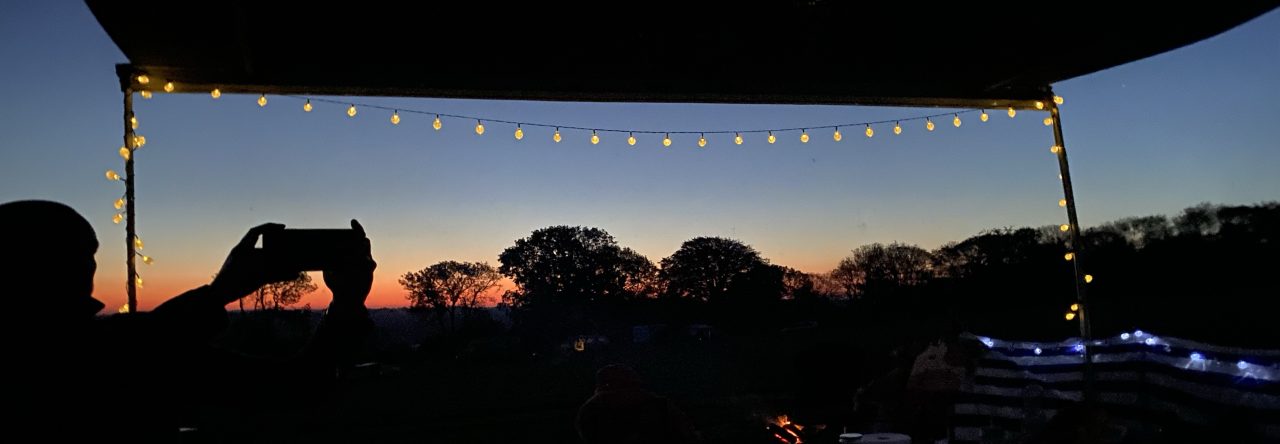
The aircon unit only runs on 240v, you can run it off an invertor but the dometic ones are ridiculously expensive and they chew up your batteries pretty quickly. In the south of France it’s gets stupid hot, upwards of 30 degrees in the old T4 during the day and mid 20’s during the night, nobody slept well and we all got bitten as we left every window and door open to catch the slightest of breeze. For most of that time we were parked up with access to electricity so we decided our next van was going to have aircon, especially as we’d planned to add another person to our crew.
The maxxair fan will do two things, one, it will work as an extractor fan if we are cooking or all hanging out in the van on a rainy day, second when we are off grid it will happily run off the leisure battery creating a nice cool breeze, we do a lot of off grid camping…
Unless you are doing this kind of thing all the time, cutting holes anywhere in your van is nerve wracking which is why I asked someone else to do it, cue Simon and his jigsaw.

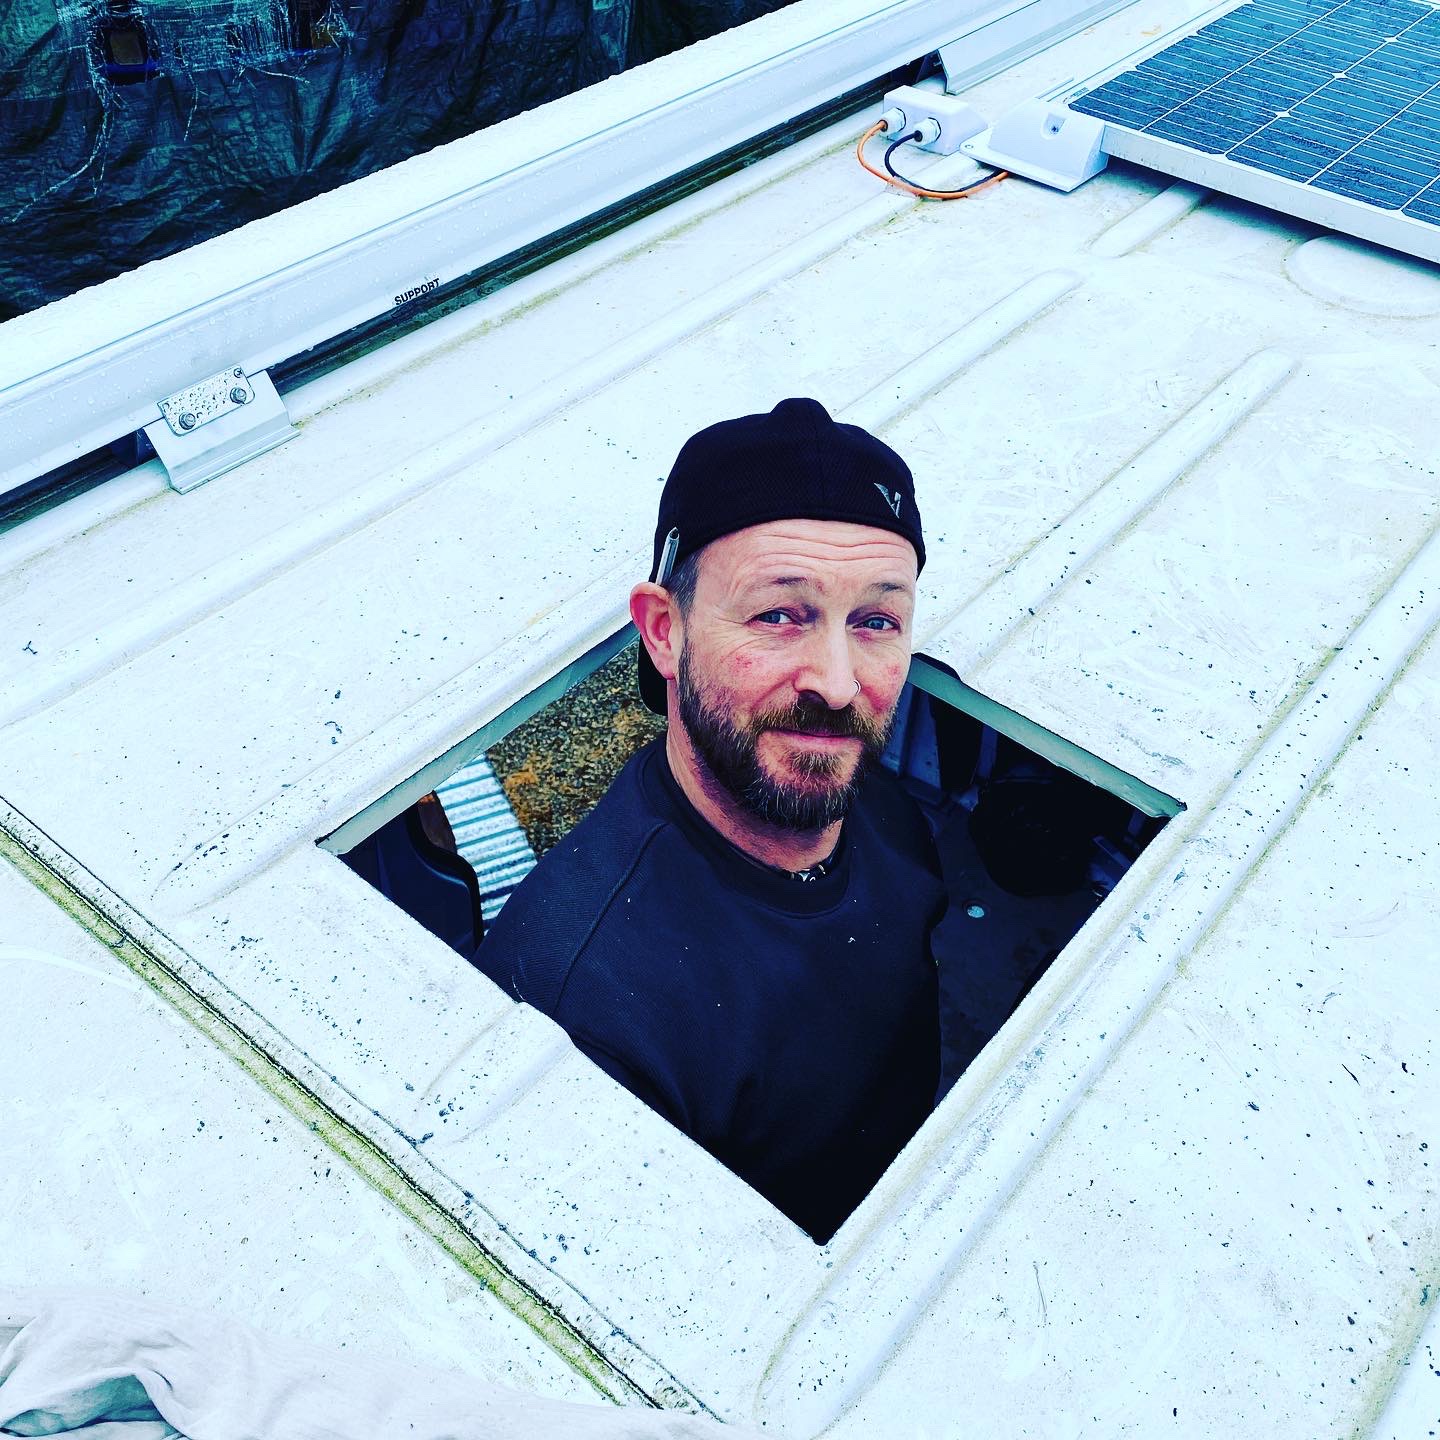
Once you have a hole in your roof it is obligatory to poke your head through it
If your roof is like mine you have to make up some spacers so the aircon external mounting frame fits flush, there are lots of ways to do this, Simon chopped up an old sign made of something he didn’t know the English word for, I don’t know it either, it’s kind of like a plastic fibreboard. This was layered to the same height as the ribs you can see in the above picture.
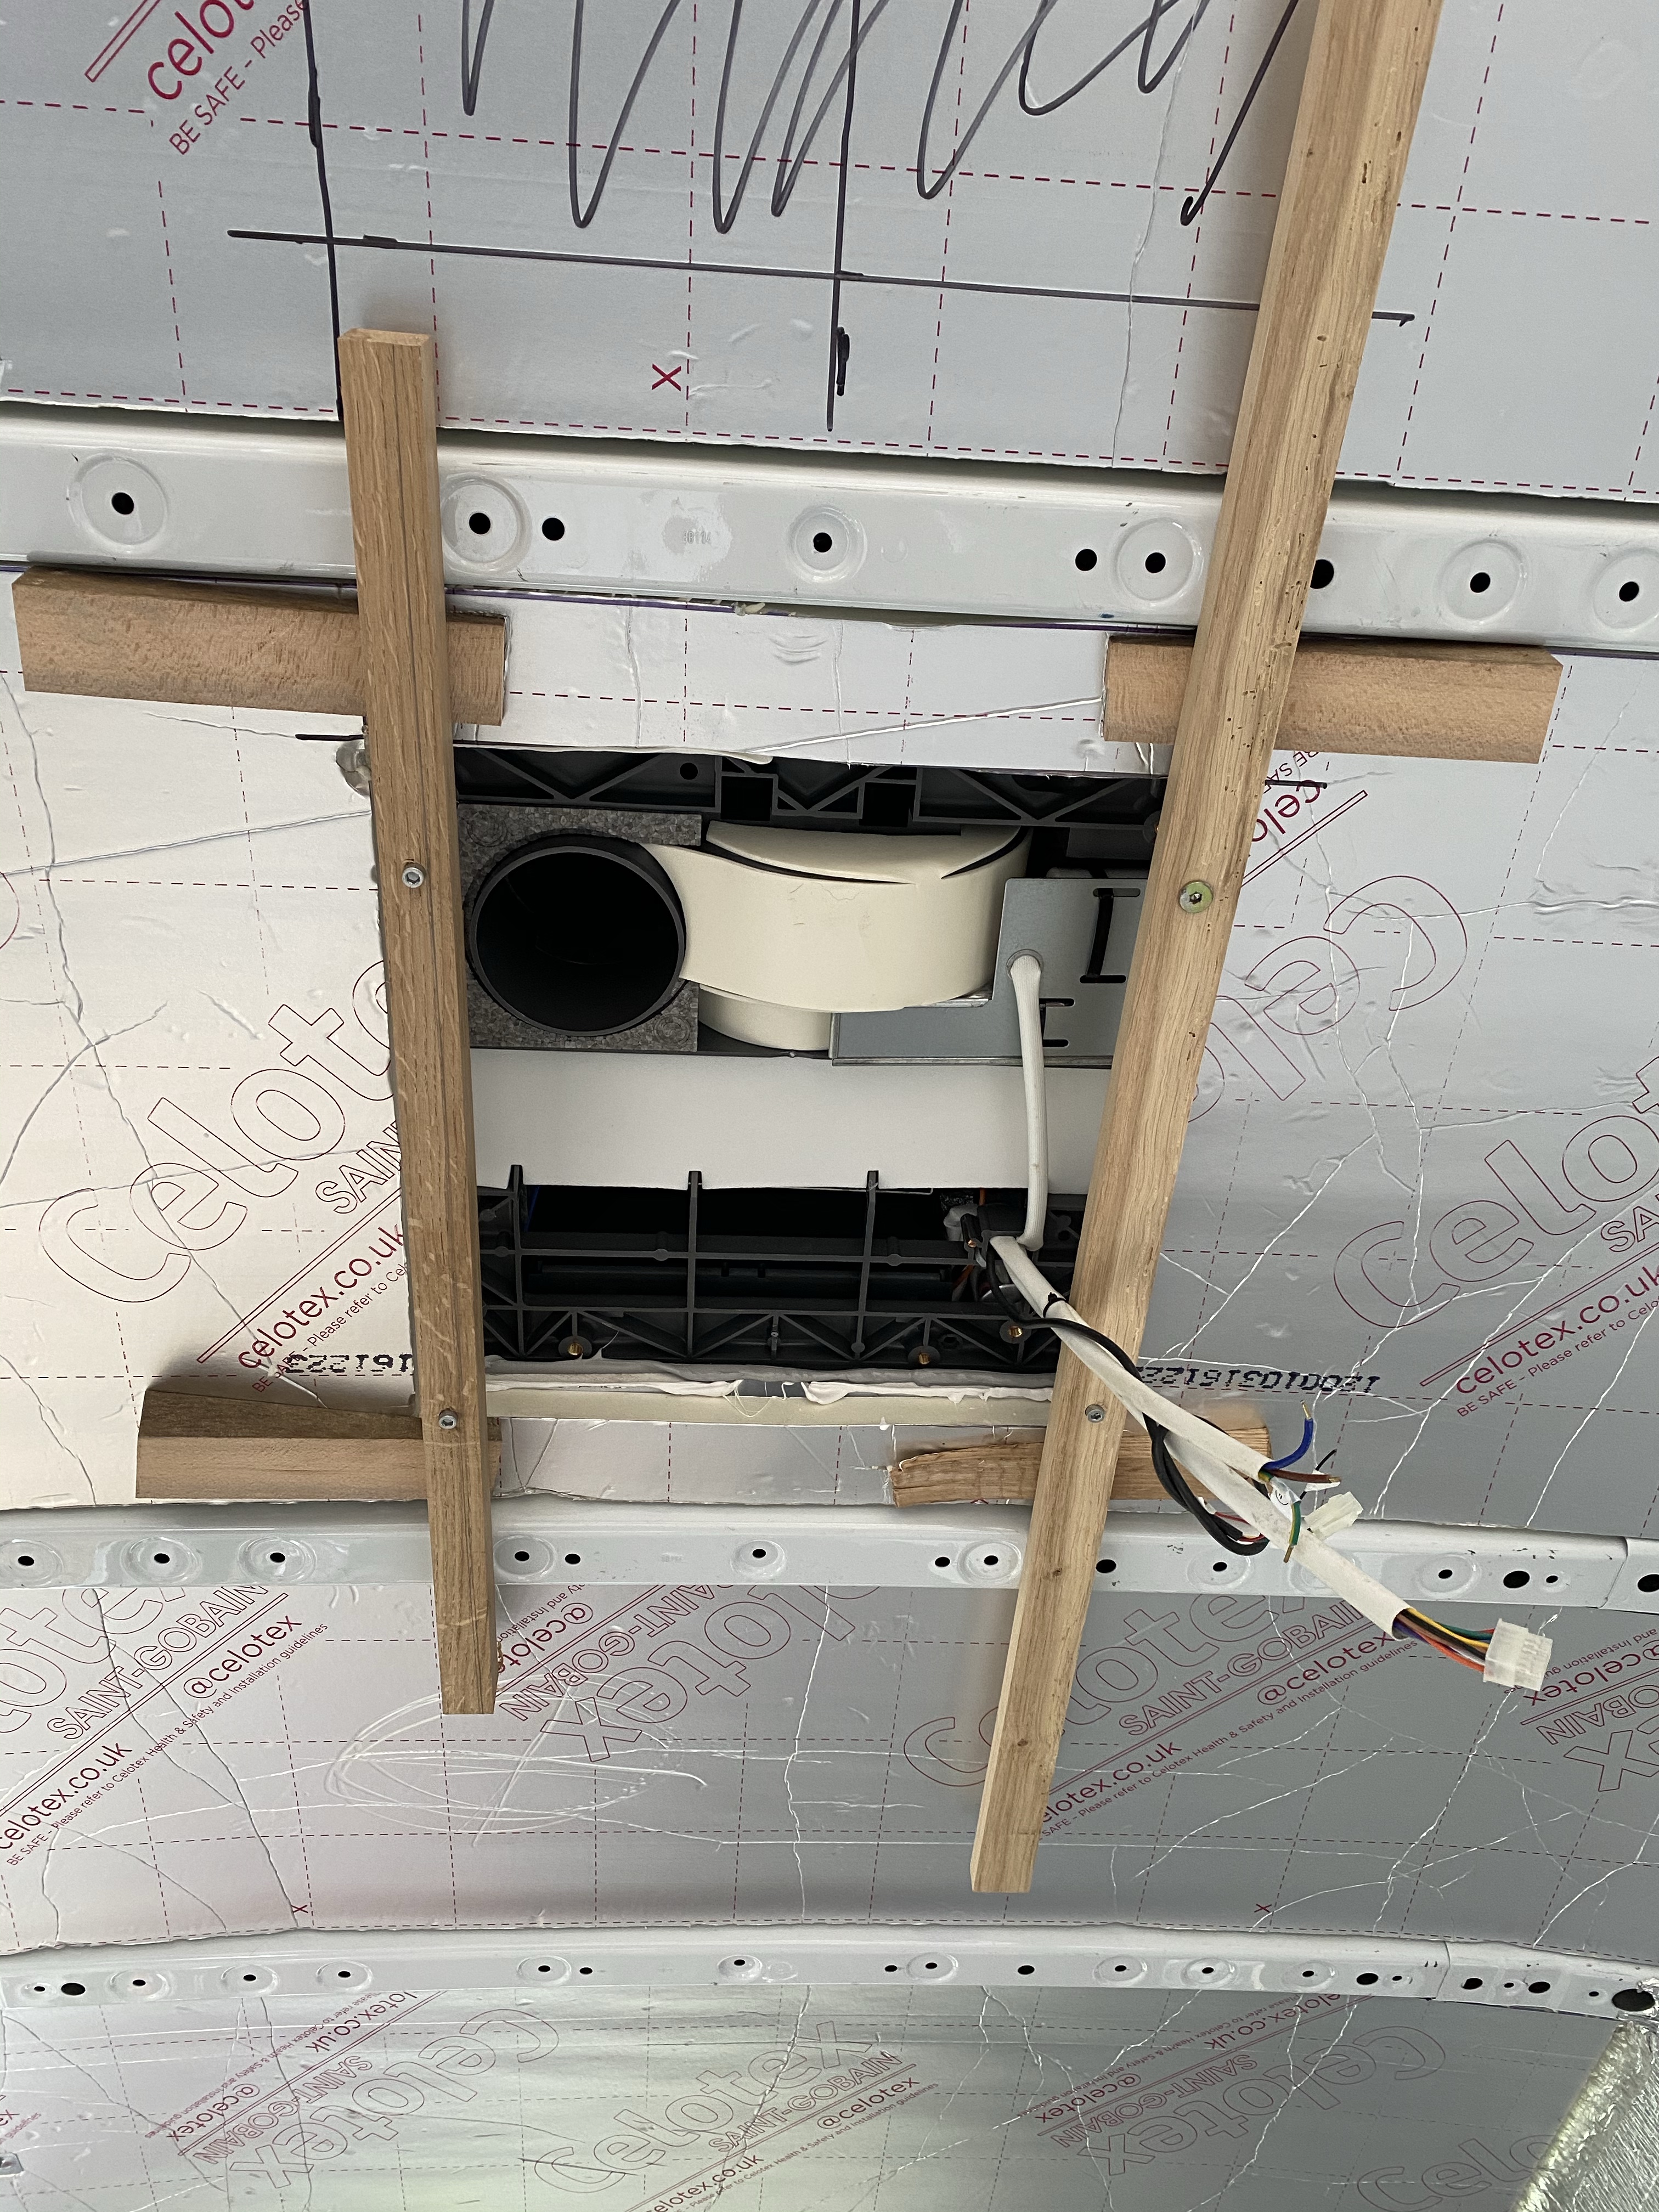
Inside the van a temporary wooden frame was made so the internal fixing bolts had something to bite into while the truck load of Sikaflex that was added to the external frame and spacers went off between the roof and the aircon unit, it looks like this from the inside.
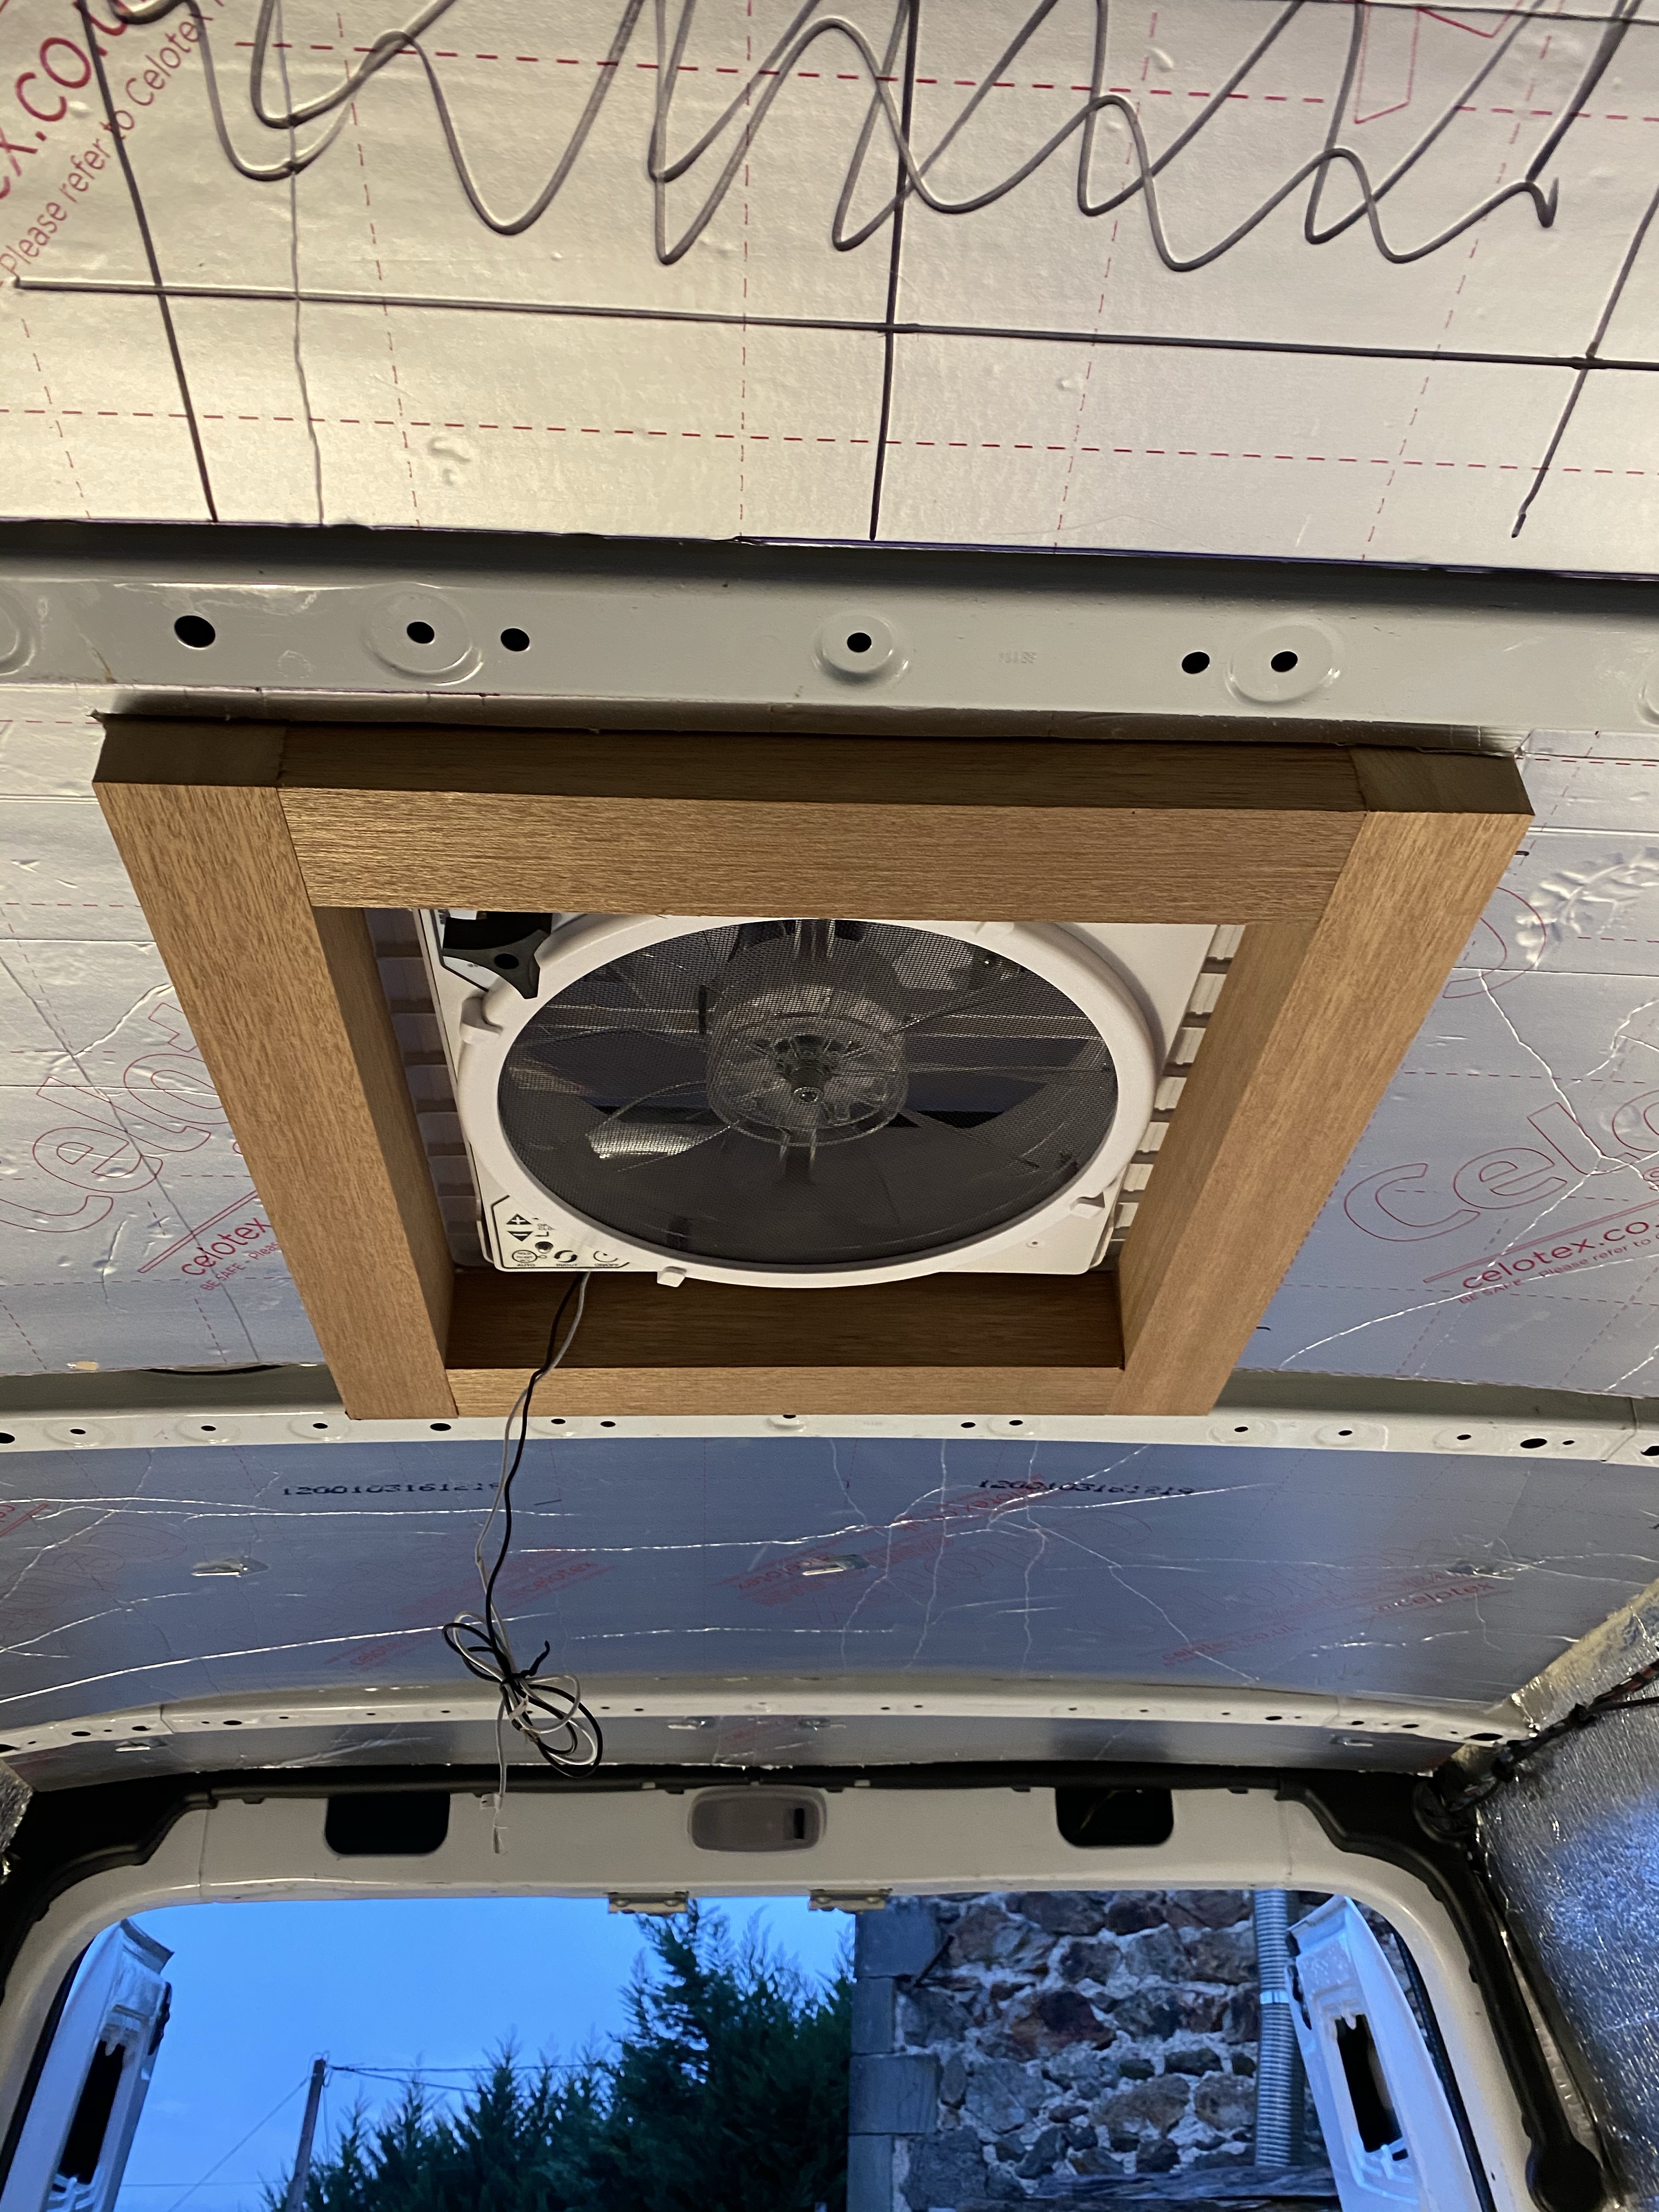
The maxxair fan mounts slightly differently, you still spacers and an internal frame to screw the external frame to as shown below
Both were left overnight for the sika to properly cure and hopefully prevent any leaks, before we left of the night I got up on the roof and took a photo of both units.
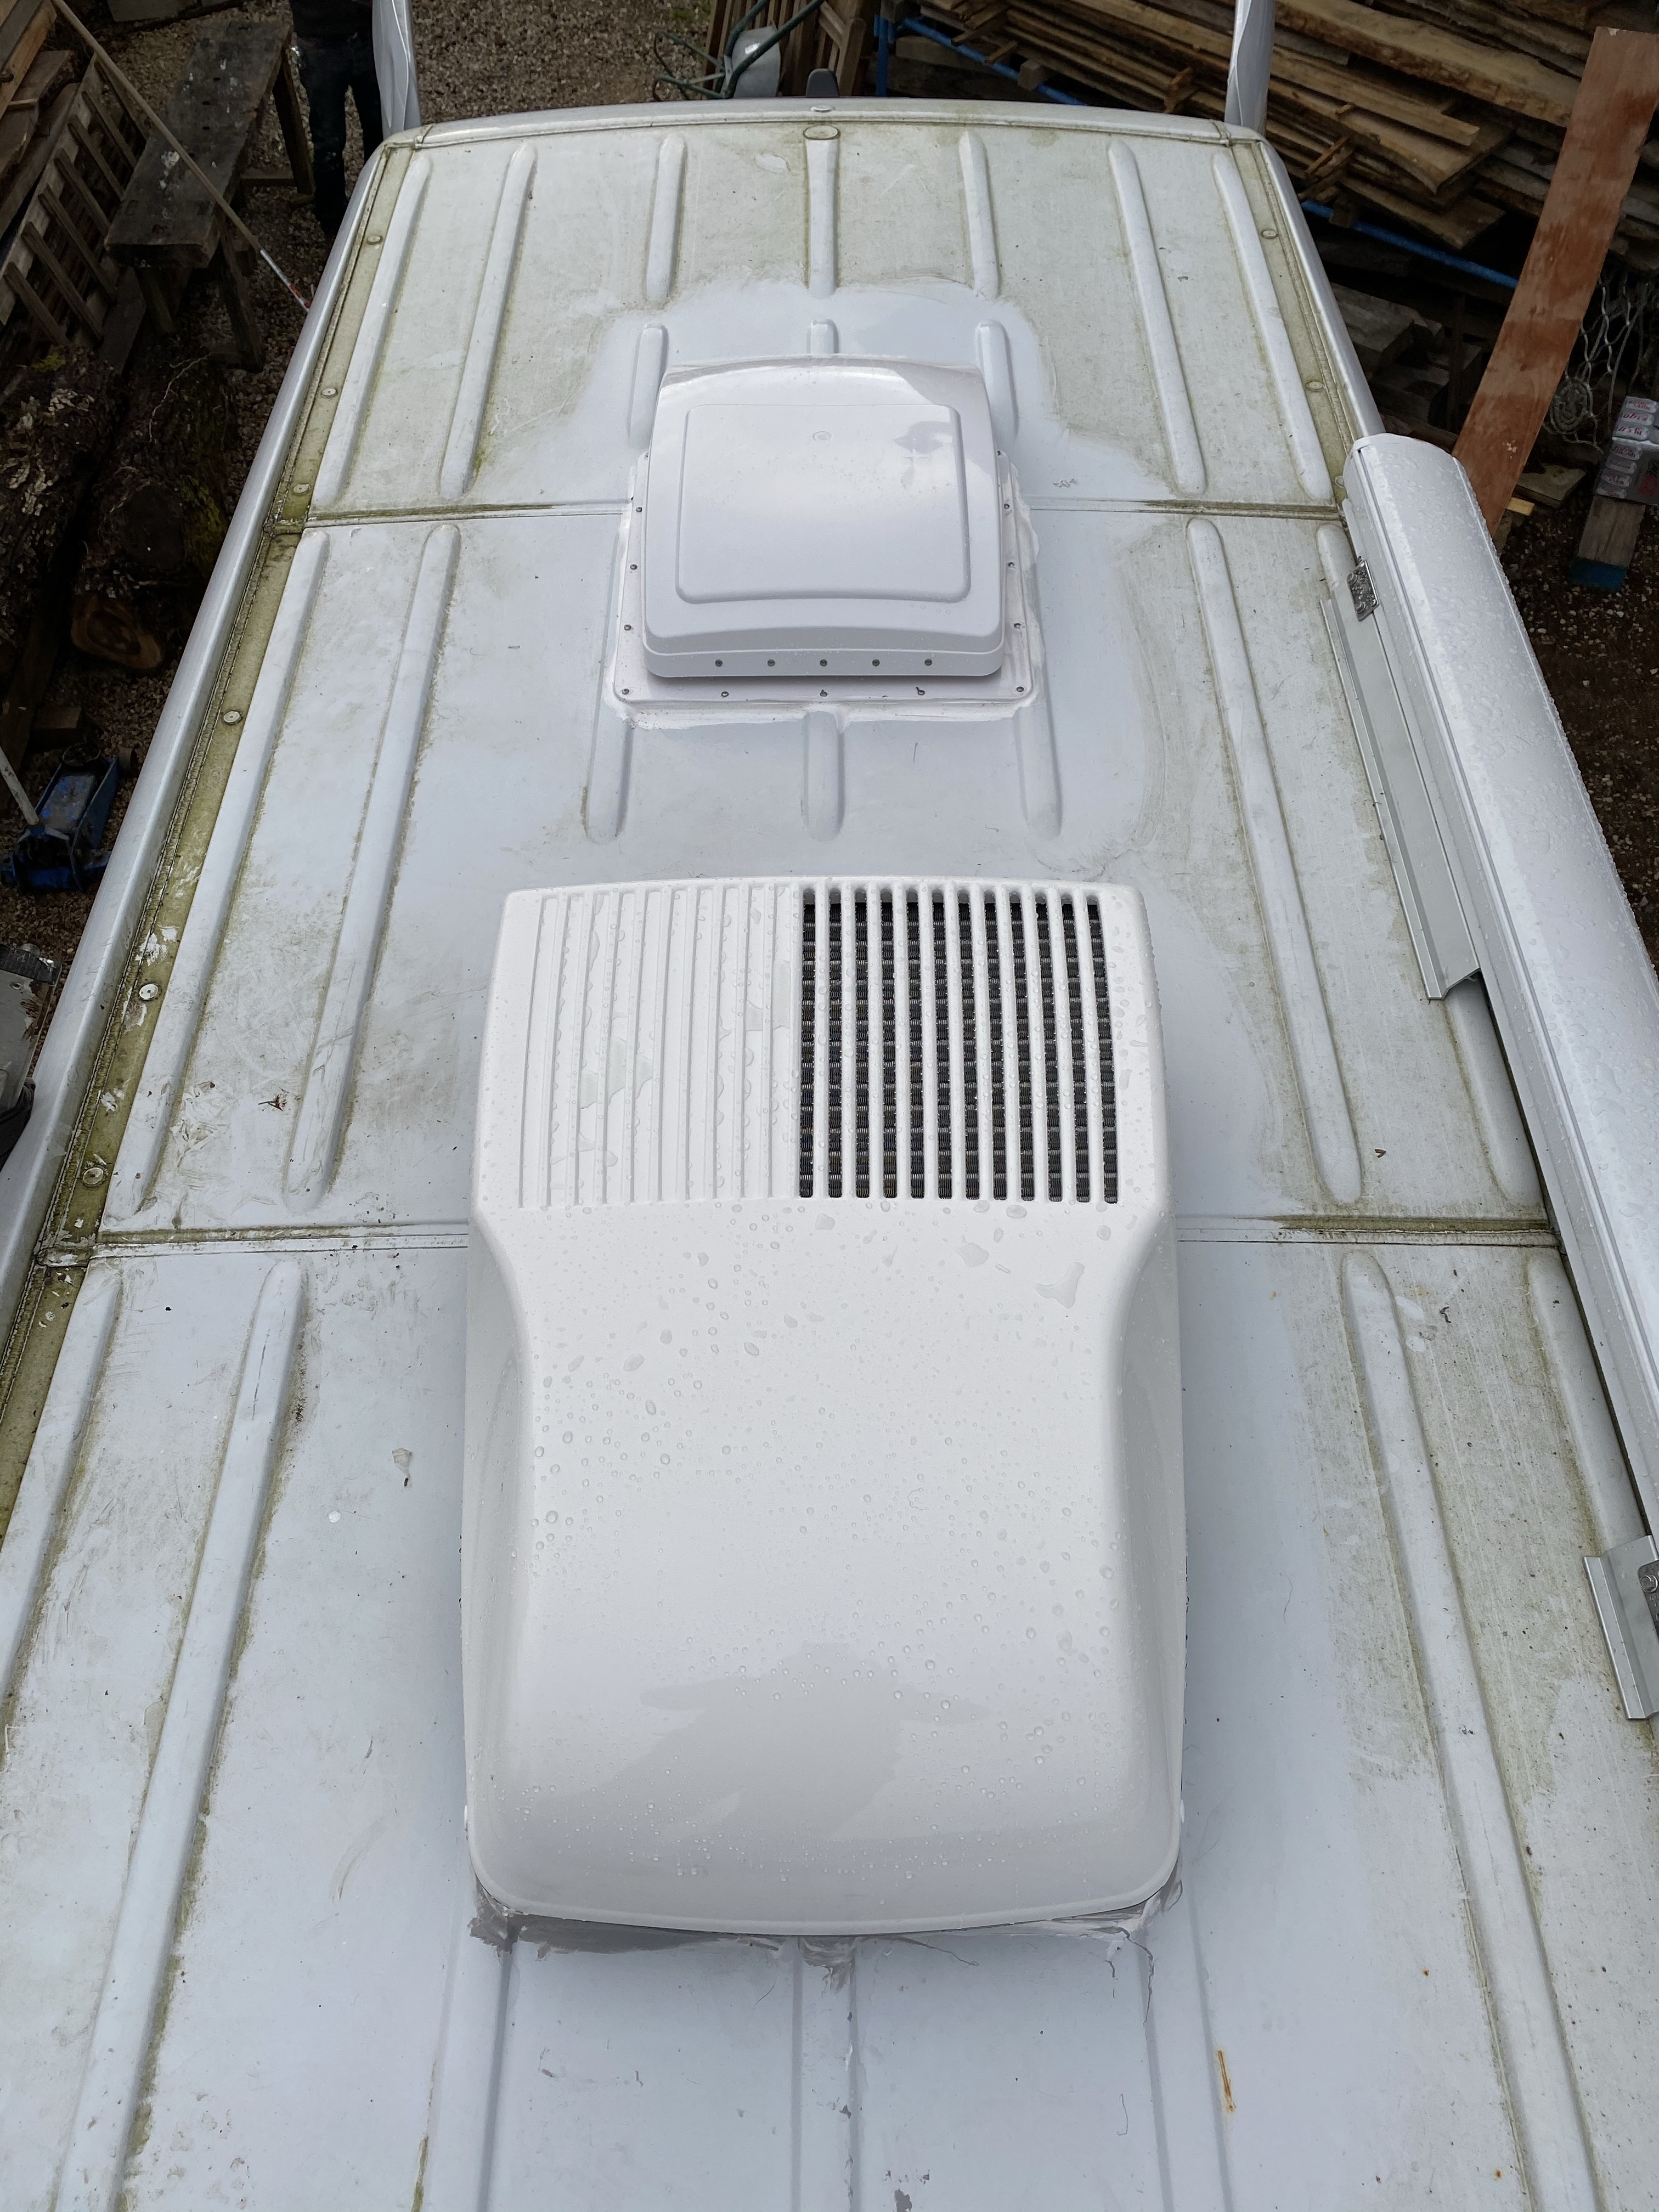
I also took one of the aircon from the side so you get an idea of how high it is on the roof.
The following day we moved on to boarding out the van which I will cover in another post, however once the power cables had been run to each unit I wired them up at the unit end and put their respective covers on.
The nice thing about the aircon unit is the 12v LED light, if you cable an additional 12v feed to the unit you can use this nice light when not on campsite hookup

It will look much better when all the roof has been painted white!
I temporarily wired them all up to check if they worked and they did, when I got back to the UK I made the wiring neater and tested again, all working as they should.
