
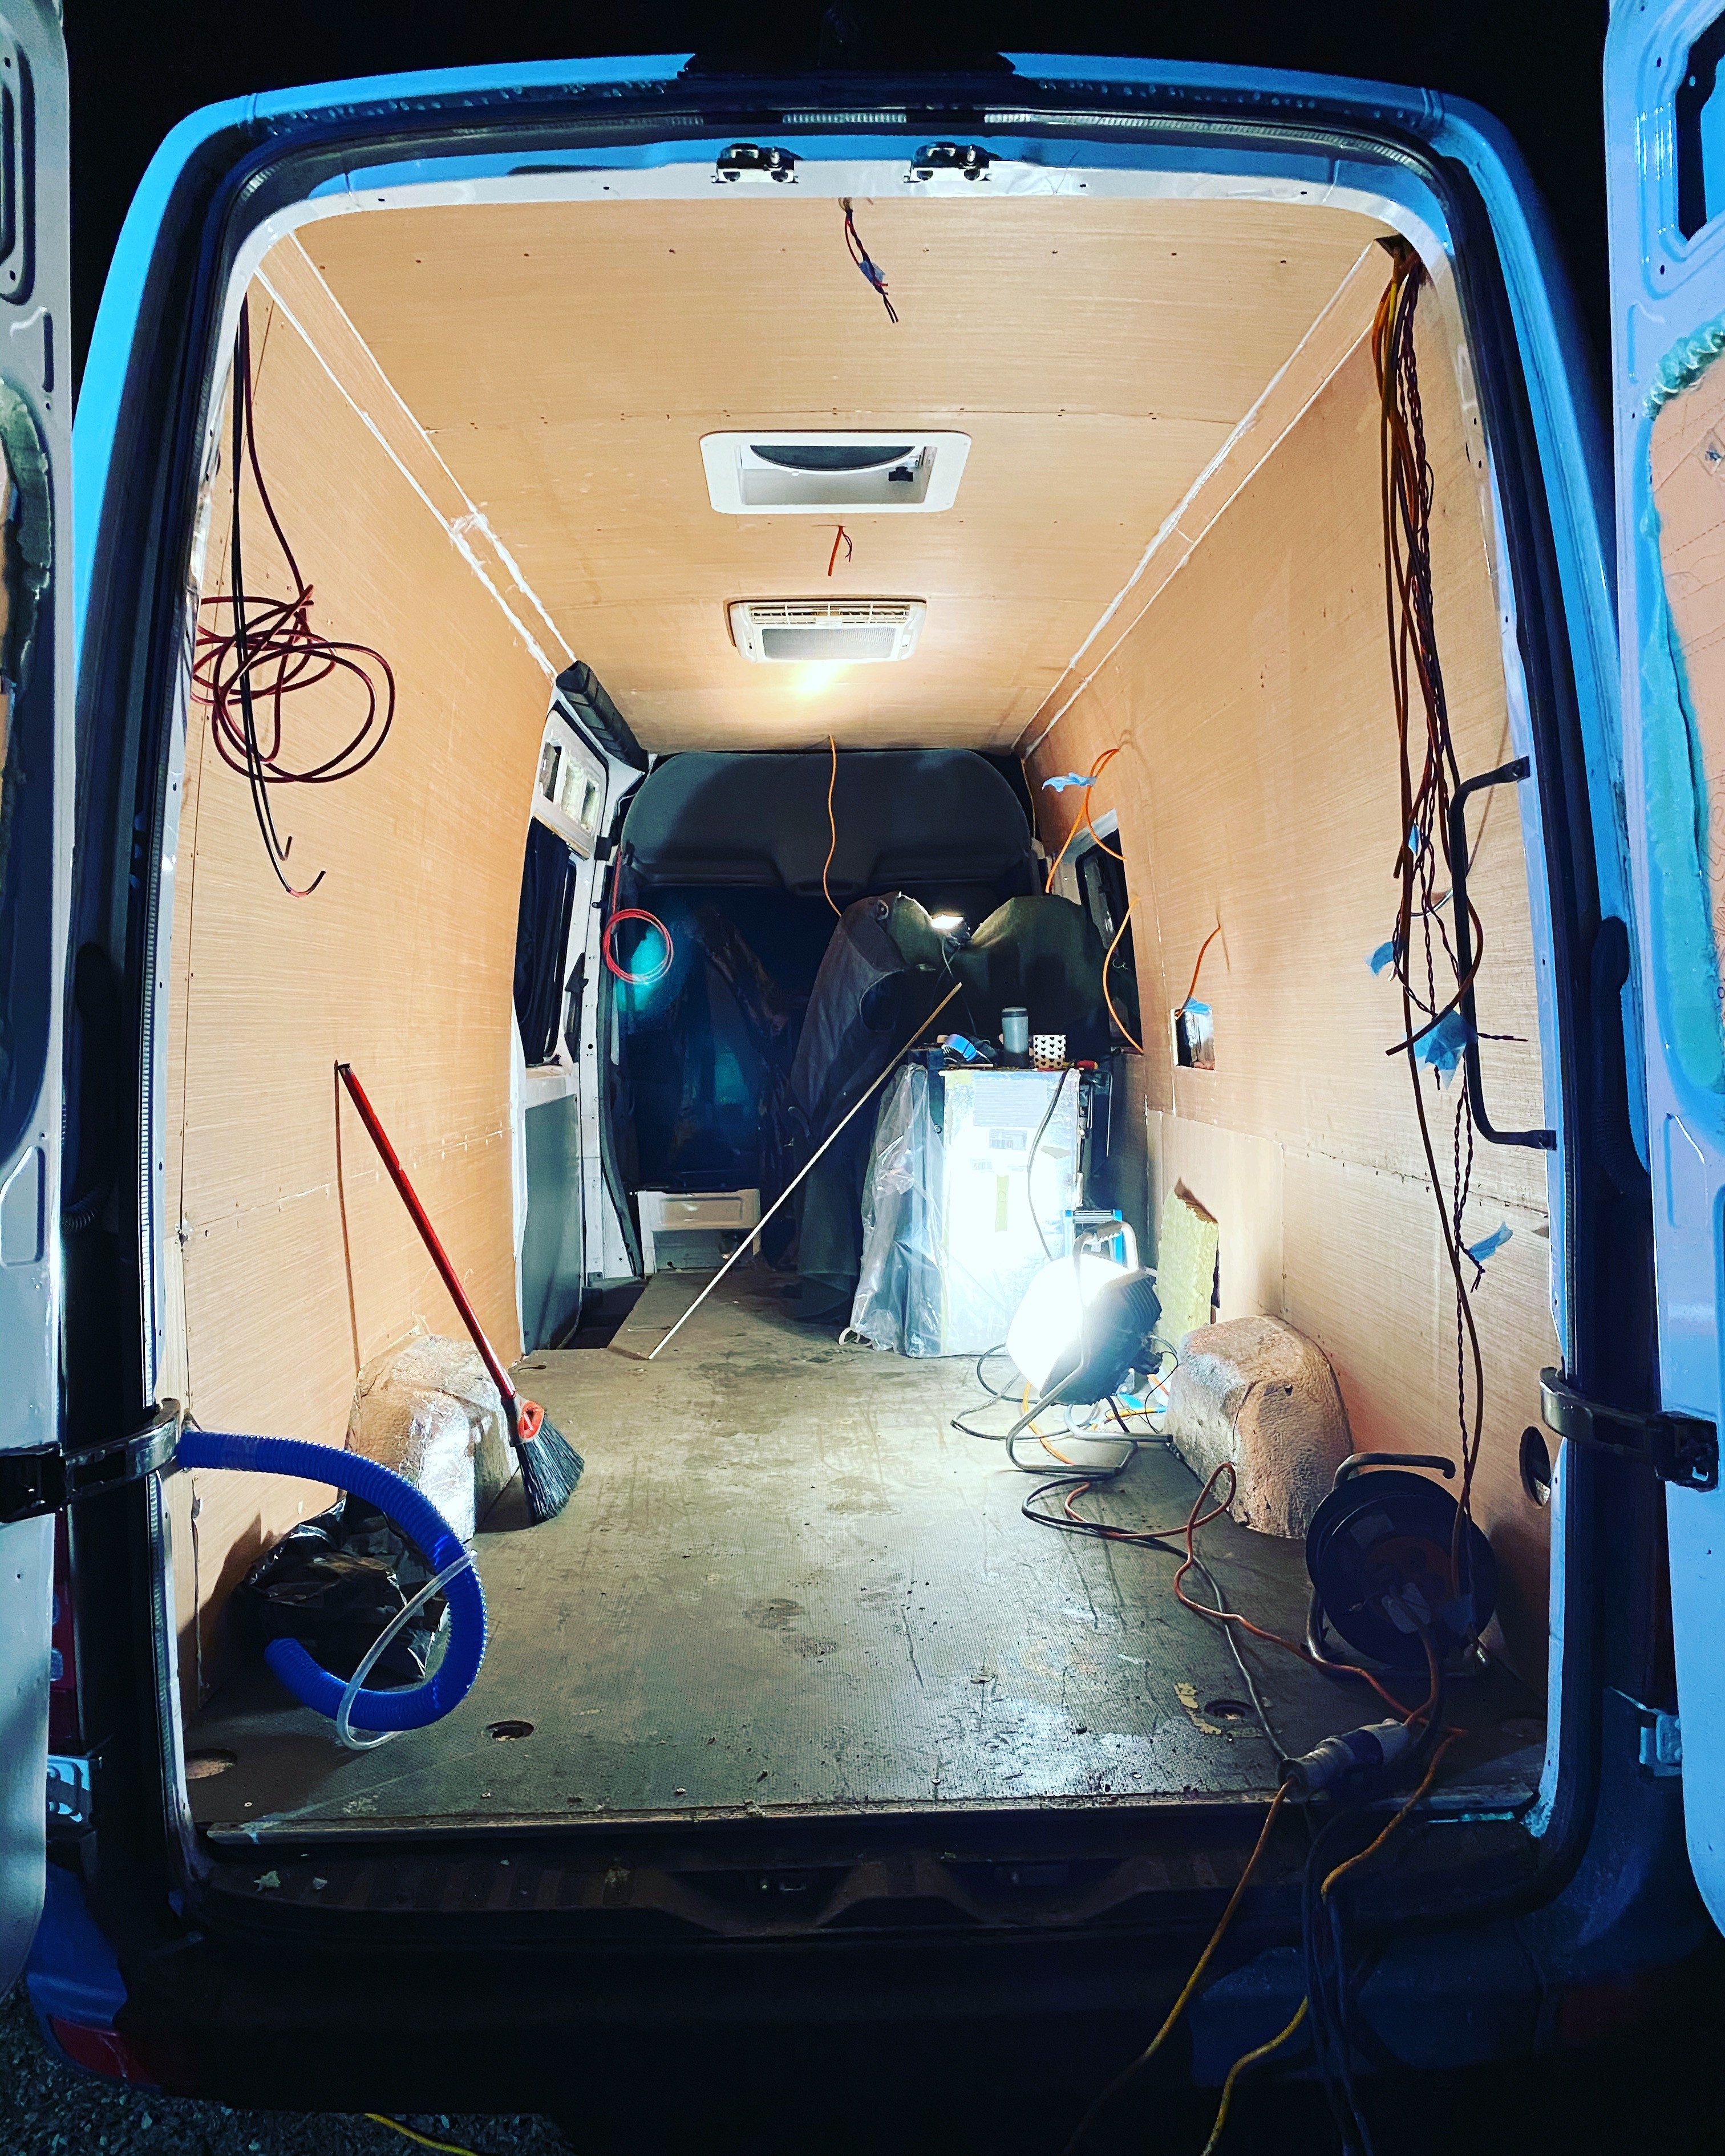
Another essential part of the build is boarding out..
Once all your insulation and vapour barrier is done you can move on to the boarding phase. All the ply I took out is thin and the surfaces littered with dents and holes, I kept it and took it to France to use as templates and I did in the end use the board that was on the rear doors.
To board out the sides and roof of the van I bought 8 1200 x 2440 9mm sheets of ply. This is good enough to fix to but also has a little give it in for the more curved parts of the van.
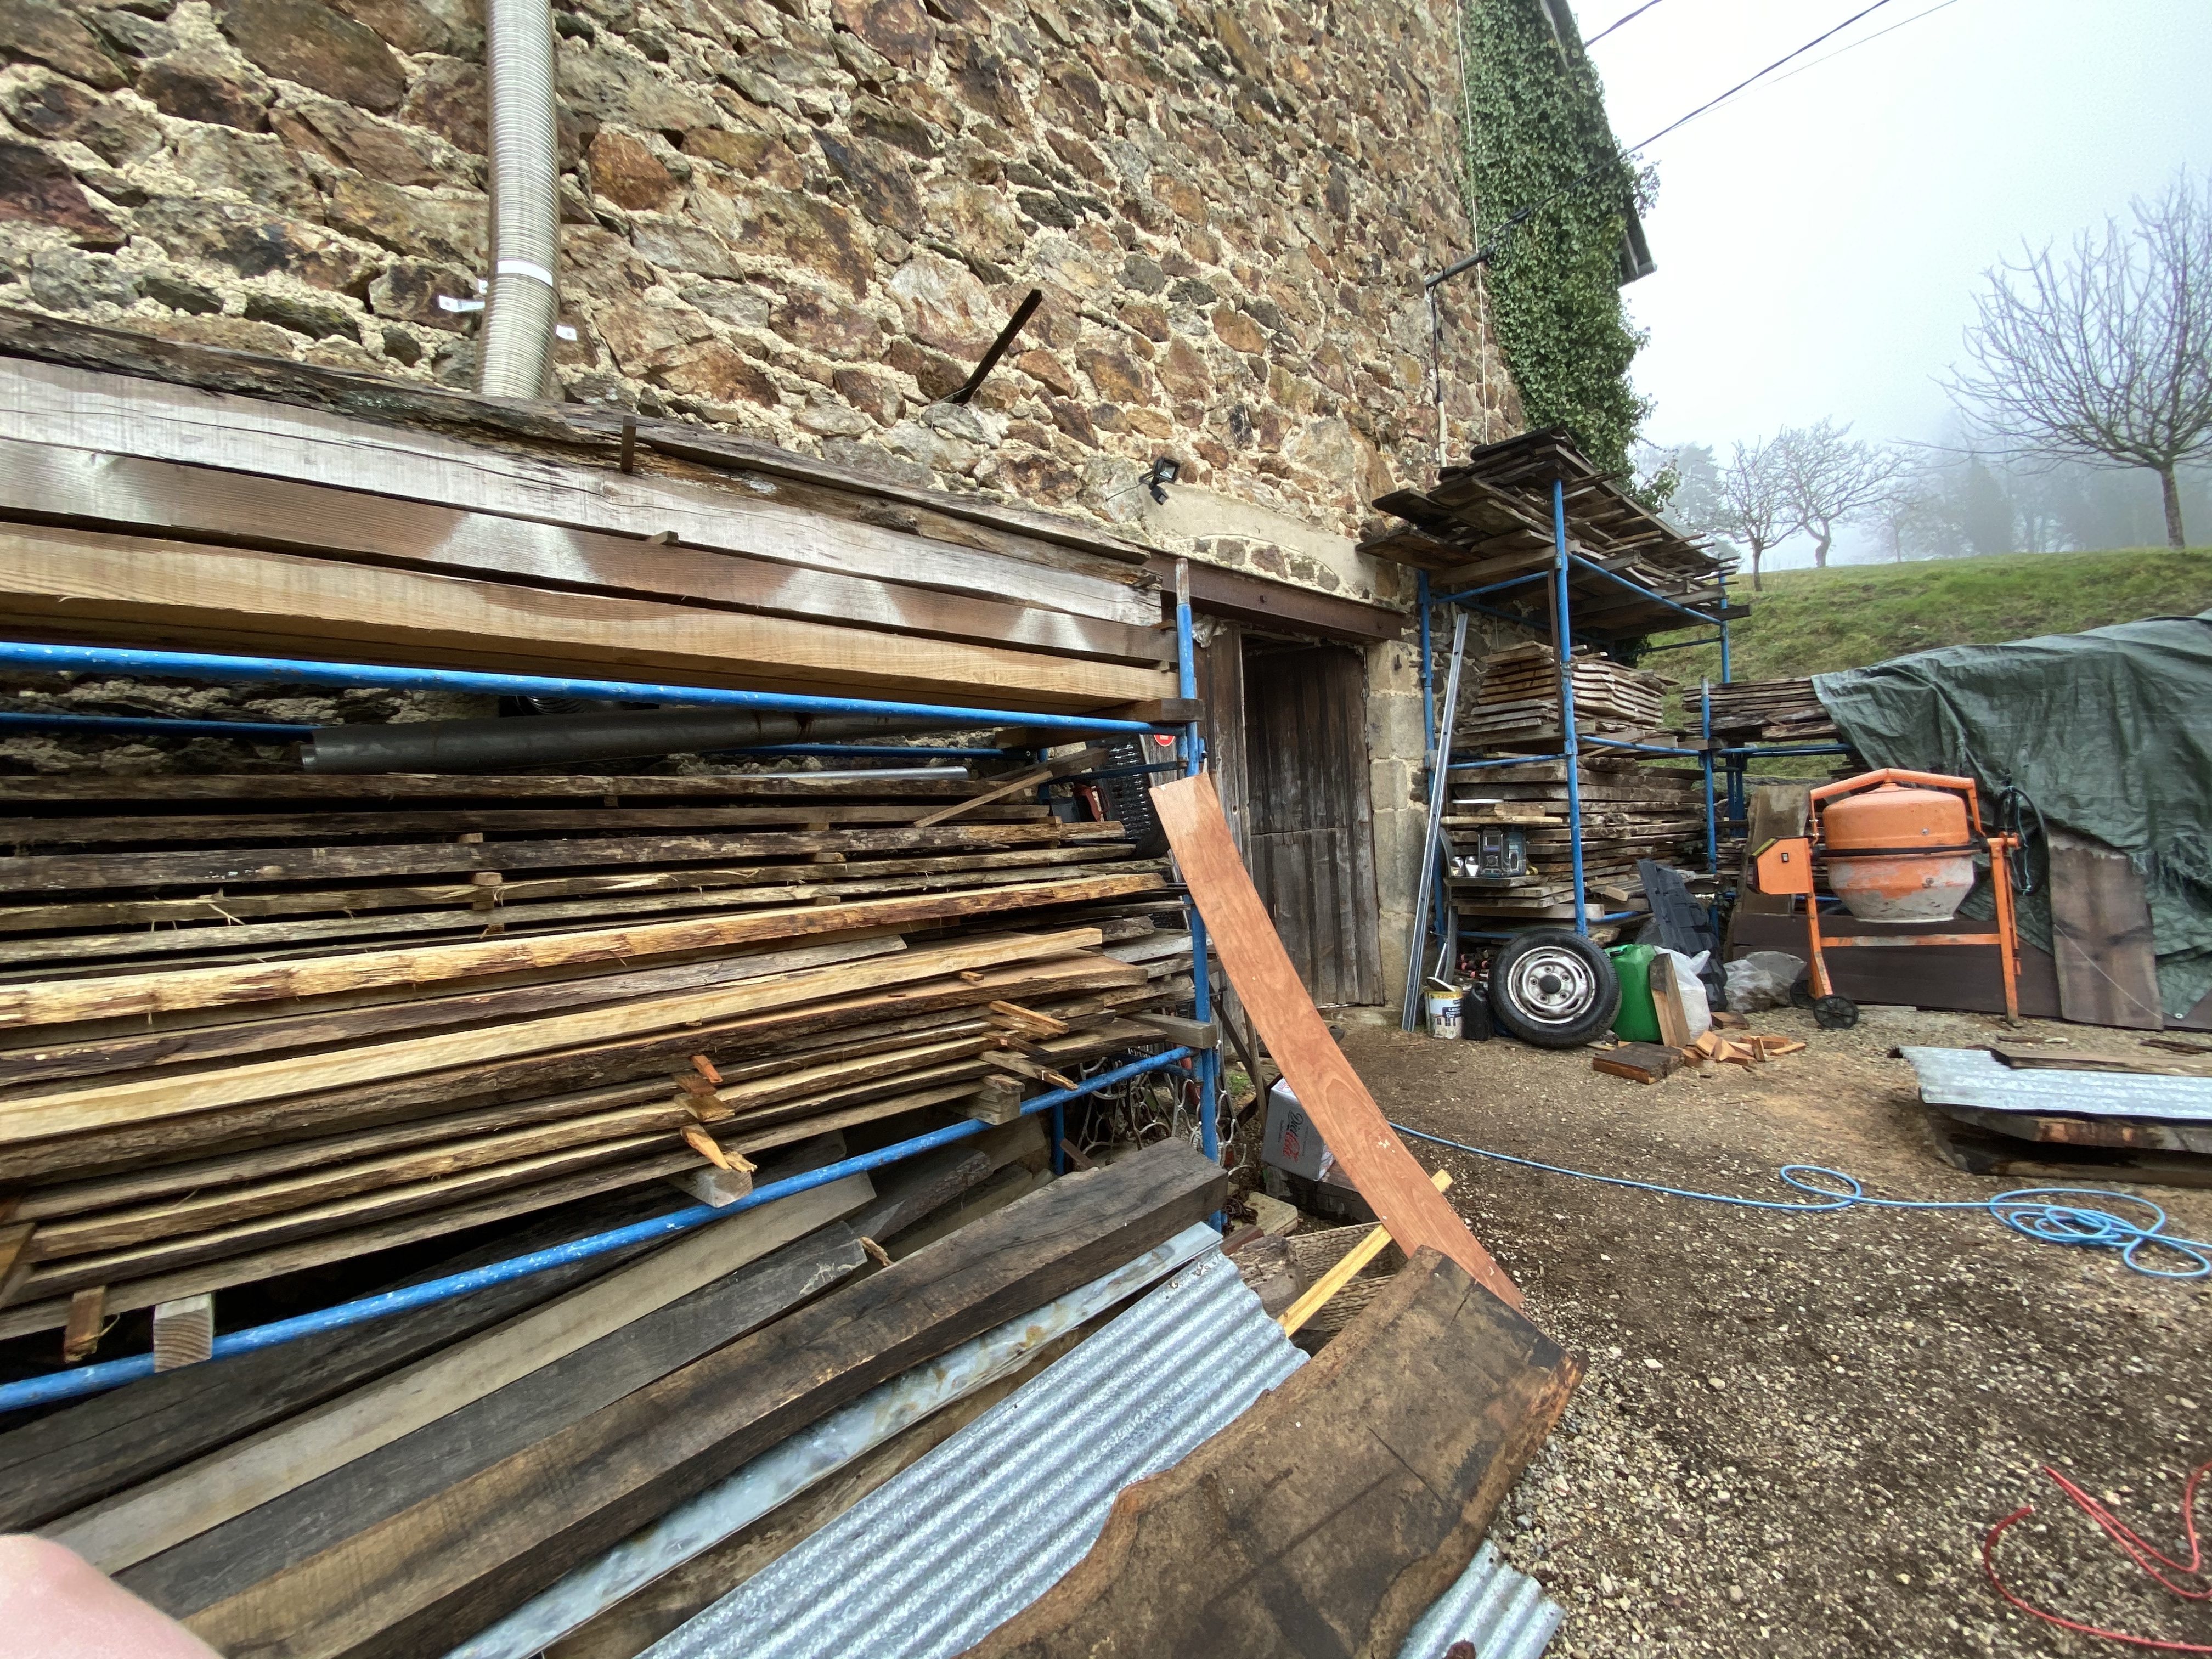
Simon did all of the boarding for a number of reasons, mainly because he’s really good at it and also has a proper workshop built for cutting and assembling things made of wood.
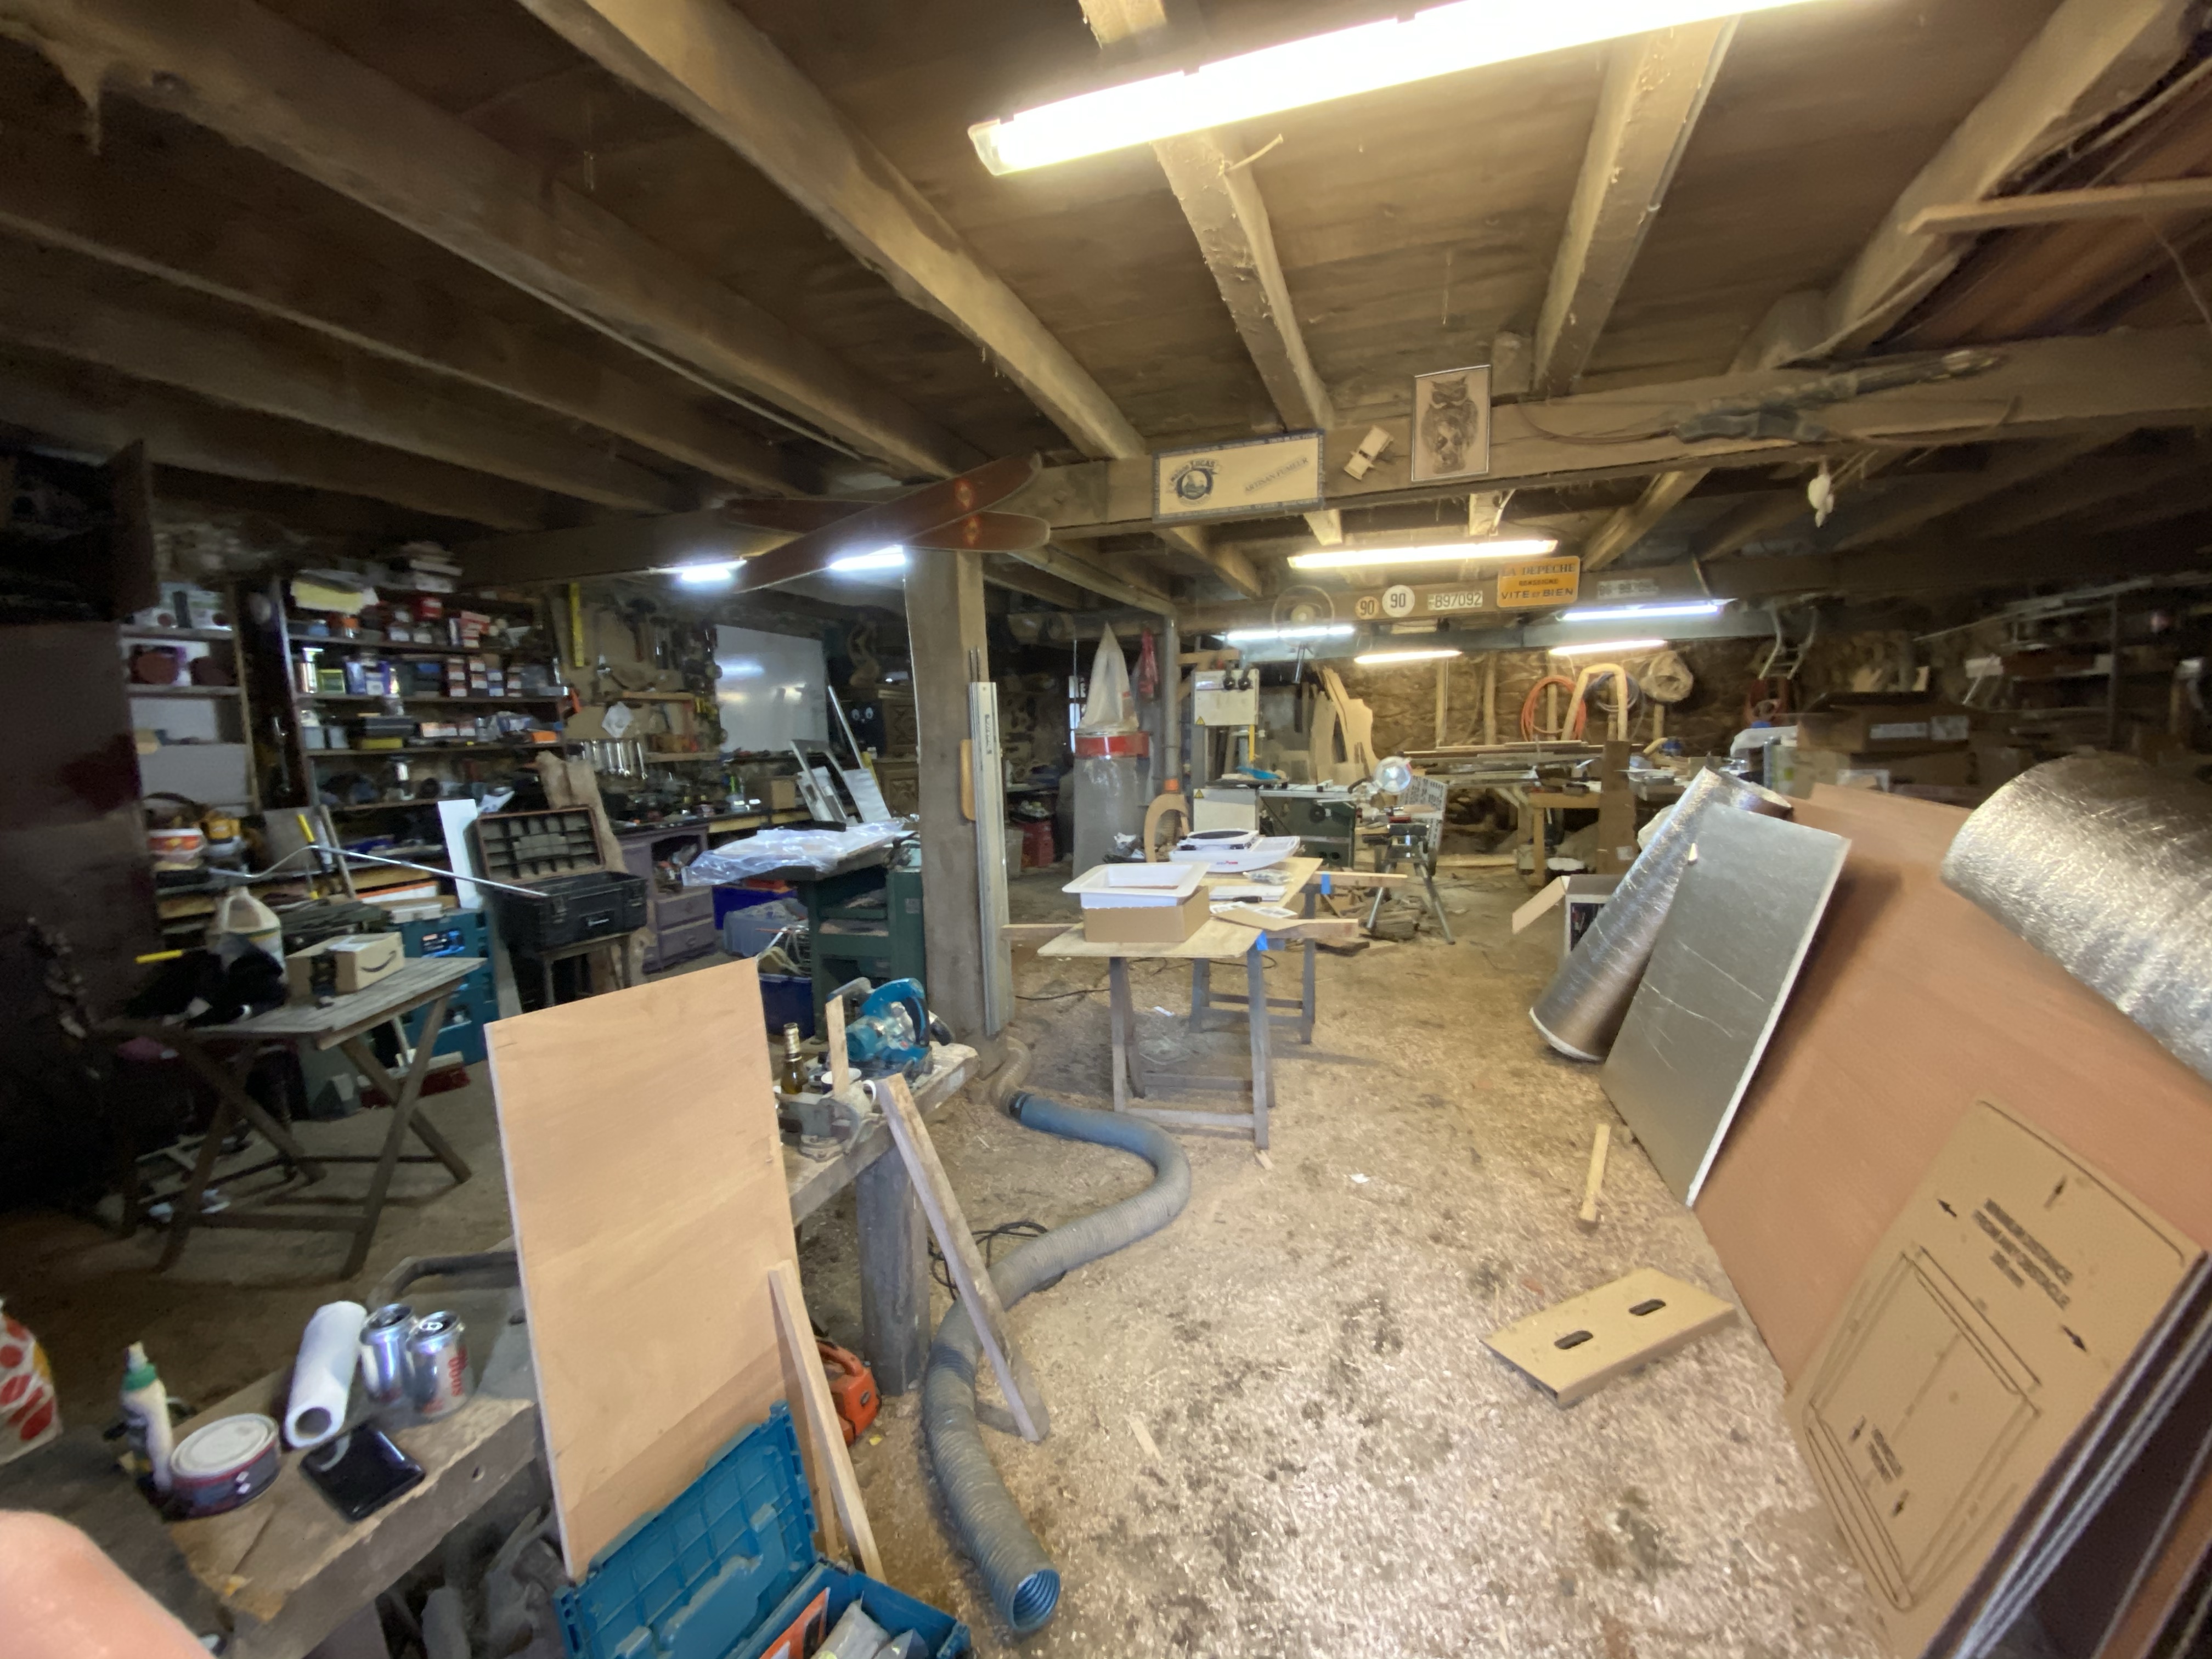
He also has a lot of wood so when we needed some we didn’t have to go far to get some.
You can if you want screw your board straight to the metal work of the van or you can add ribs, the ribs are easier to screw into once fixed and it also leaves a small gap between the board and the bodywork which is handy for running cables, here you can see the ribs going in and some ply being offered up.

The ribs were not bought from the local hardware store, they were cut on site from this bit of wood planed from a tree!

In what seemed like no time at all the roof ply was on.

The following day the rest of the van was boarded and we had a good tidy up.
The boarding process took about a day, on every join Simon put a run of mastic so the wood doesn’t rub together and squeak, the following day my job was to fill all the screw holes, there were a lot of screws!
When all of the interior is in the ply will be painted white.
